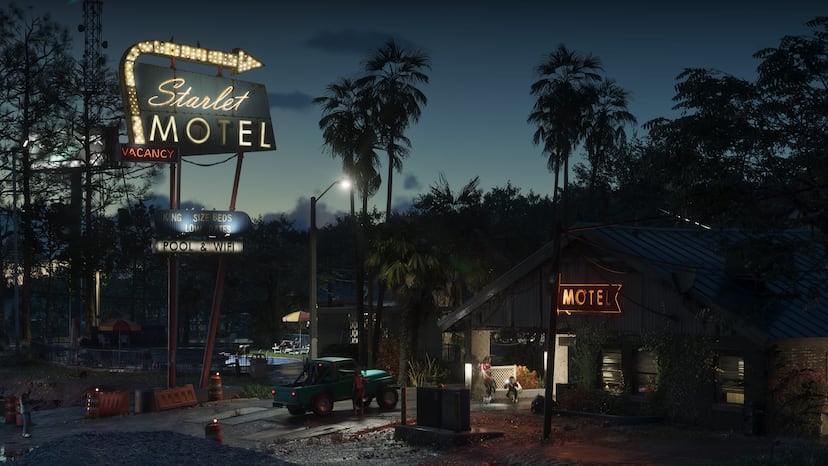
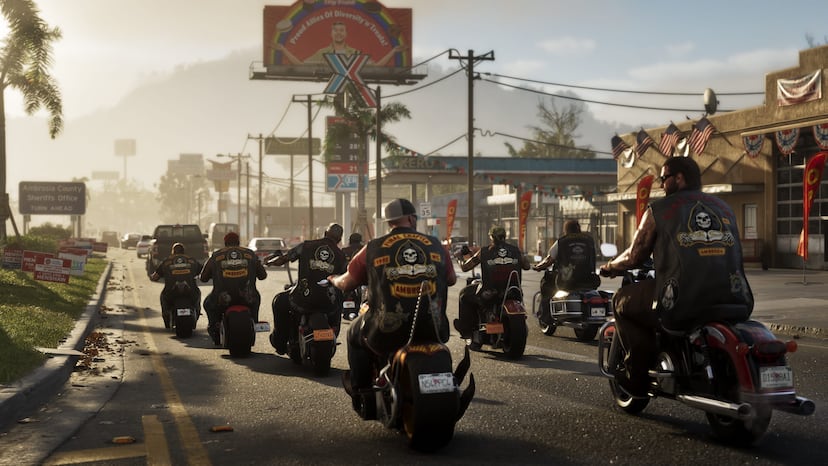
Six galleries, six starting points
These are observations from the official images selected for our galleries. The comparison column suggests what to examine when opening the next region.
Six galleries, six starting points| Region | Visible in the gallery | Useful comparison |
|---|
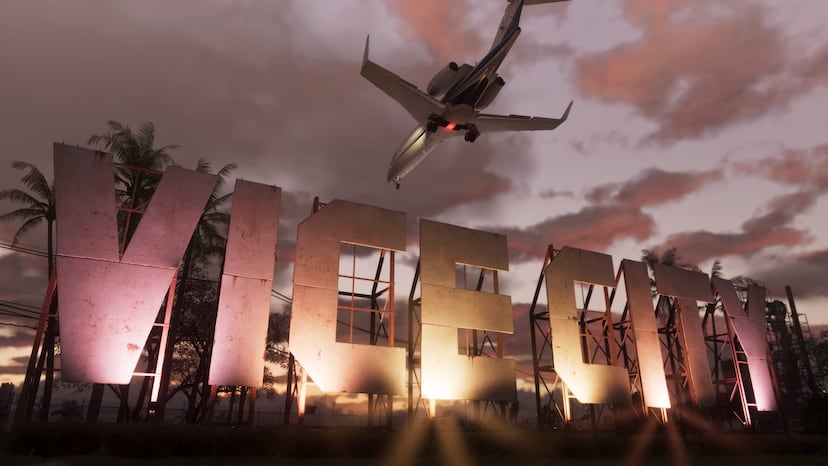
| Vice City | Sunset skyline, beach and resort balcony | Keys: city density versus open water |
|---|
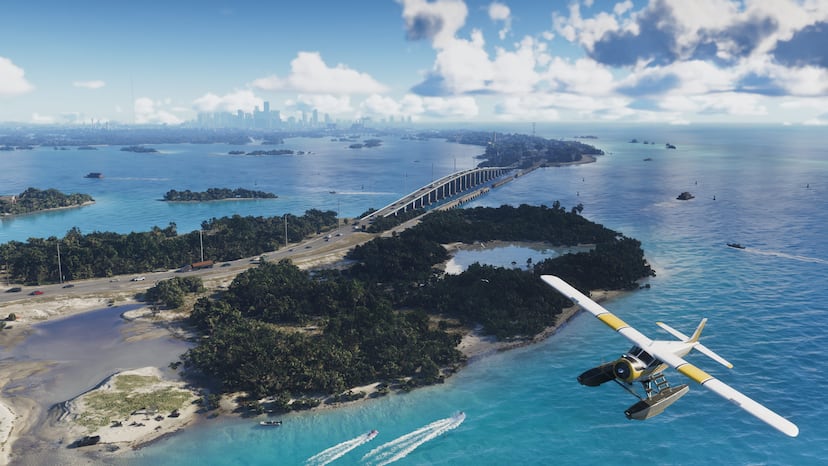
| Leonida Keys | Island bridge, seaplane and roadside life | Vice City: two views of the coast |
|---|
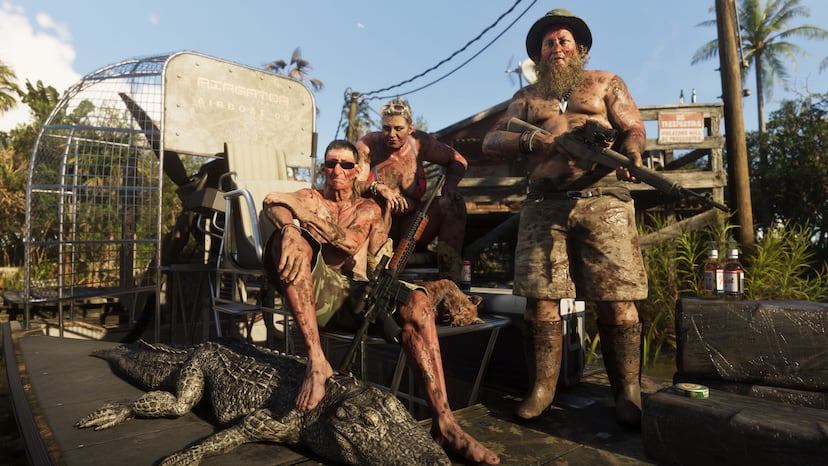
| Grassrivers | Airboat, alligators and waterfront buildings | Keys: different settings around water |
|---|
| Port Gellhorn | Roadside motel and a growing room | Vice City: compare motel and resort surroundings |
|---|
| Ambrosia | Motorcycle convoy and industrial night skyline | Port Gellhorn: streets and local character |
|---|
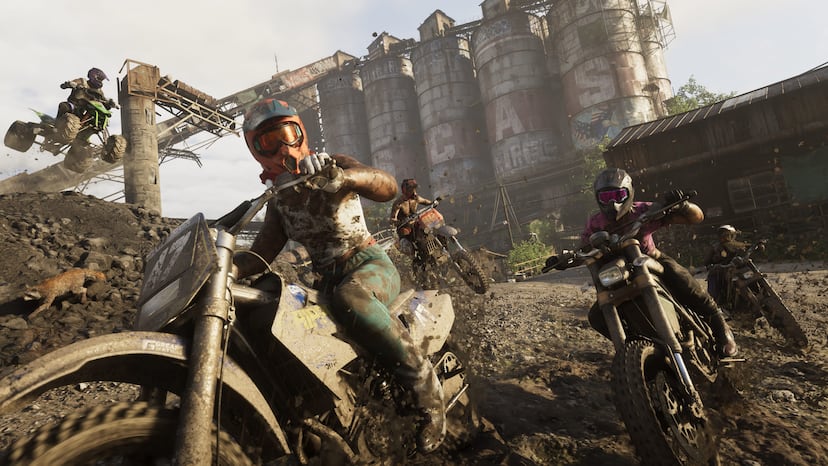
| Mount Kalaga National Park | Dirt bikes, industrial structures and wooded slopes | Grassrivers: contrast the terrain |
|---|
Sources: [1]
Choose a route through the images
For a broad introduction, open Vice City, Leonida Keys and Mount Kalaga. That sequence gives you three contrasting settings without asking you to memorize every place name.
For people and street detail, try the Keys, Port Gellhorn and Ambrosia. Look at businesses, signs, clothing and vehicles. For water and landscape, pair the Keys with Grassrivers, then finish with Mount Kalaga’s higher ground. These are browsing sequences, not directions for an in-game journey.
Sources: [1]
Make your saved places useful
Choose one region for atmosphere and another for a detail you want to recognize later. A distinctive building, bridge or hillside is a better comparison point than a general resemblance to Florida.
When revisiting footage, compare the whole scene with Rockstar’s labeled gallery: skyline, vegetation and surrounding buildings together. If the match remains uncertain, leave it open. A named screenshot gives you a reference point; it does not establish the size, borders or driving time of that region.
Sources: [1][2]